Quick Start
Quick Start guide
Install JAW AI, connect the AI agent, and make your first edit in a few minutes.
This guide takes you from a fresh download to your first AI-assisted edit in about five minutes. Each step links to a deeper page if you want the full detail.
Install and open JAW AI
Open the downloaded
JAW-AI.dmg, drag JAW AI into yourApplicationsfolder, then launch it. See Installing & launching for the first-open security prompt on macOS.Connect the AI agent (bring your own key)
During the beta, JAW AI is bring-your-own-key (a managed subscription that includes AI usage is coming later). Open File ▸ Settings… (⌘,), choose a provider — Anthropic (Claude) or OpenAI — and paste an API key. The chat panel stays disabled until a key is present. Full walkthrough, including where to get a key: Setting up the AI agent.
Open a file or record something
Use File ▸ Open to load a
WAV,MP3,AIFF,FLAC, orOGGfile, or File ▸ Record to capture from your microphone. The audio appears as a waveform on the timeline.Make your first edit
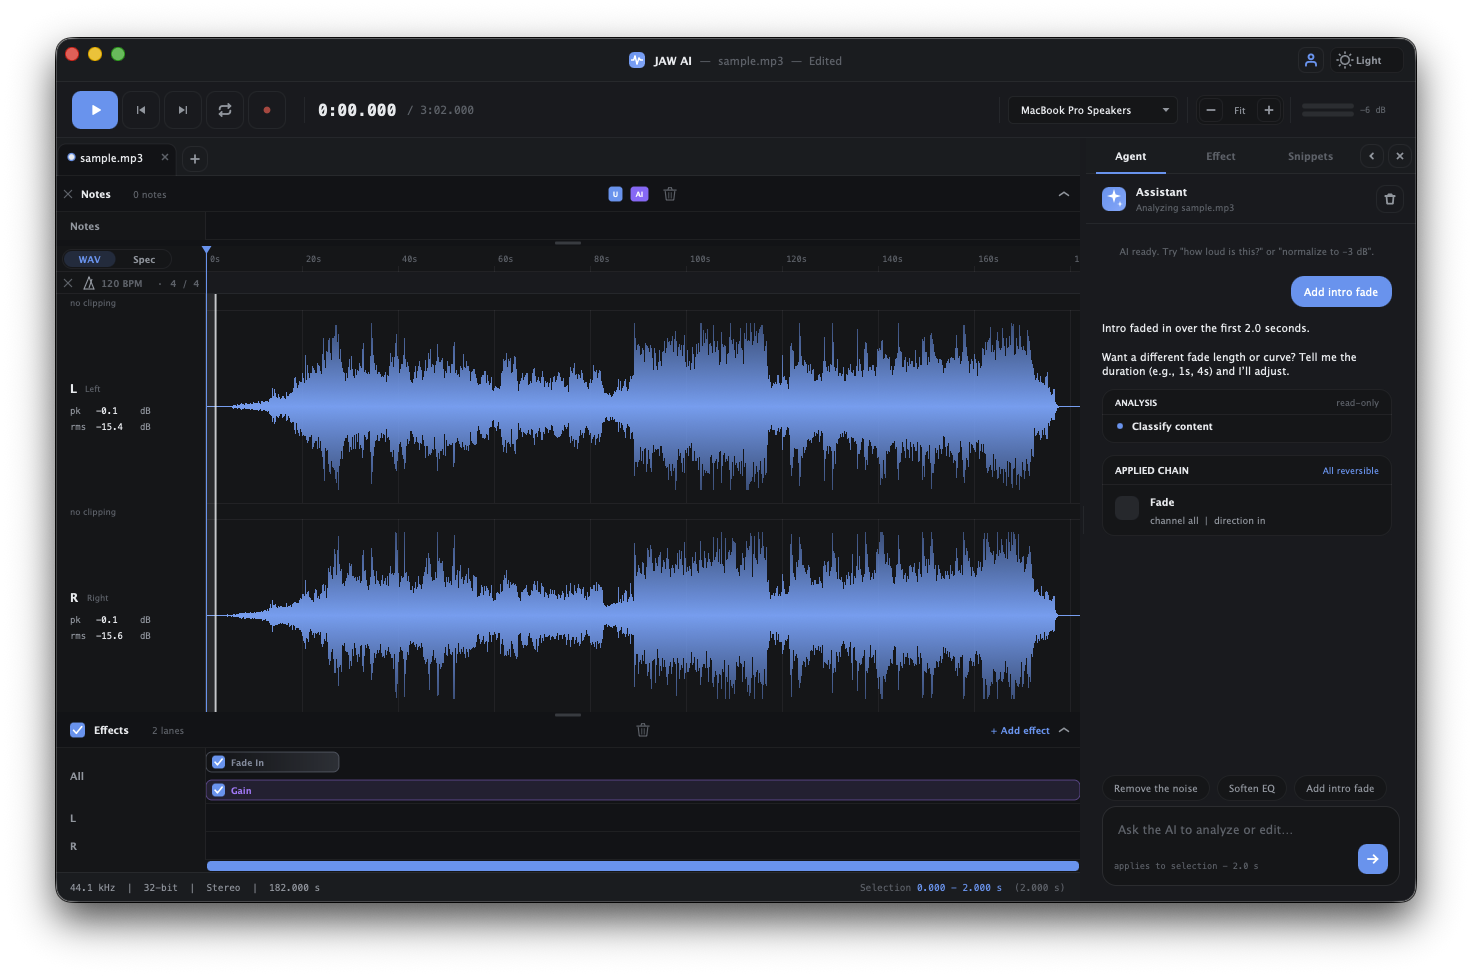
Type a request into the chat panel — try “make this louder” or “clean up the background noise” — and watch the agent run real edits on the waveform. Prefer knobs? Reach for the Effects menu instead. Both routes do the same non-destructive work.
Undo, then export
Don't like a change? ⌘Z undoes it — a whole agent request collapses into a single undo step. When you're happy, File ▸ Save As exports a finished file, with an A/B preview before you commit. See Exporting your audio.
Where to go next
- The interface — a full tour of the window.
- Working with the AI agent — what it can do and how to steer it.
- Effects & the effect stack — non-destructive editing in depth.